
Reviewed · TROLLTUNGA HIKES
Trolltunga: Trolltunga Summer Hike
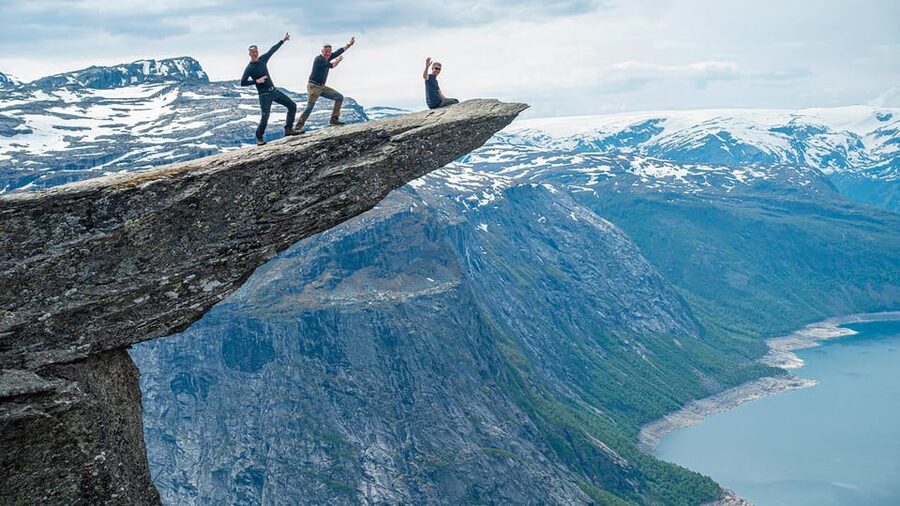
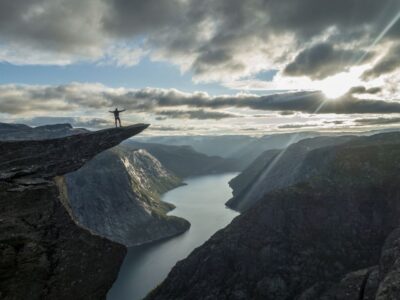
Trolltunga is not a quick viewpoint stop. It is a demanding mountain day that ends on a famous rock ledge hanging about 700 meters above Ringedalsvatnet. The reward is a broad, blue lake below, the Folgefonna Glacier in the distance, and a photo that looks almost too dramatic to be real.
I like two practical touches here: the shuttle from P2 to P3 saves some uphill walking, and the guides carry first-aid gear, poles, and seasonal traction equipment. I also like that guides help with photos throughout the hike, not just at the final rock. The main catch is simple: this is a long, strenuous outing, with no meals or drinks included, and poor weather can change the transport and photo options.
Key points at a glance
- The P2 to P3 shuttle saves energy before the real hiking begins.
- The trail can take 7 to 12 hours, so plan for a full mountain day rather than a casual excursion.
- Ringedalsvatnet and Folgefonna Glacier provide the big visual rewards along the route.
- Guides stop for snacks, water, stories, and photos, helping you keep a steady pace.
- The initial climb is the hardest section, with milder terrain after it.
- Special needle-view photos require safe weather for rappelling, so they are never guaranteed.
Starting at P2 and cutting out extra uphill work
You meet the guide at the Trolltunga Active Base or shop beside the P2 parking area in Skjeggedal. From there, the group takes a shuttle bus to P3, the higher trailhead. This transfer matters more than it may sound. Trolltunga is already a long hike, and saving some time and energy at the start can make the final return much more manageable.
The shuttle runs between P2 and P3 when weather conditions allow it. Your own journey to P2 is not included, so arrange your transport to the meeting point separately. One booking note is worth taking seriously: the shuttle described here is the P2 to P3 transfer, not a hotel pickup.
Once at P3, you begin the trail. The route starts with a strong uphill section, so your legs work early. After this initial climb, the terrain becomes milder, though the overall distance and time still make the hike a serious test of fitness.
The stated hiking estimates vary from 7 to 9 hours and from 9 to 12 hours, depending on conditions and pace. I would plan around the longer figure. The activity is listed as 10 hours, but mountain weather, group speed, stops, and trail conditions can affect the day.
More Trolltunga hiking days:
- Odda: Full-Day Trolltunga Hiking, and Climbing Tour
★ 4.8 · 95 reviews - Odda: Trolltunga Via Ferrata, Sunset and Sunrise
★ 5.0 · 30 reviews - Trolltunga: Trolltunga Sunset Glamping
★ 4.9 · 15 reviews
The first climb sets the pace
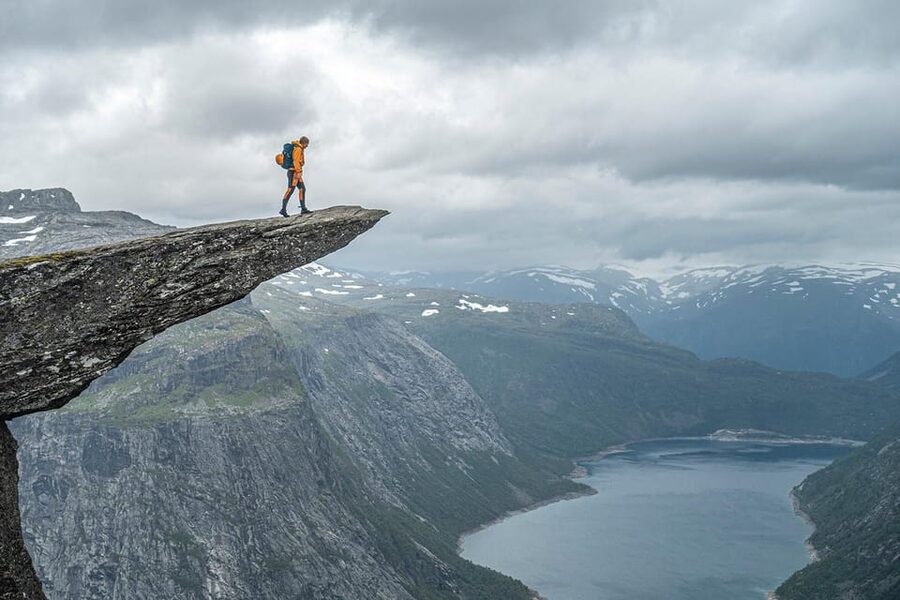
The first uphill stretch is where you quickly learn how the day will feel. You should not treat this as a warm-up walk. Use the early section to settle into a steady rhythm, keep your water within reach, and avoid burning all your energy in the first hour.
A guide makes a useful difference here. The pace can be adjusted for the group, and the guide can suggest breaks before people become exhausted. Reviews of the experience have especially praised guides for taking regular pauses and keeping the mood positive without rushing the slower members of the group.
The guide also carries safety and first-aid equipment. Hiking poles are included, and microspikes or snowshoes may be provided when seasonal conditions require them. That does not remove the need for proper footwear. You still need hiking shoes, warm layers, and waterproof clothing.
Viewpoints, stories, and small breaks on the trail
As the route continues, several viewpoints open over the valley. These stops help you understand the scale of the hike. You are not simply walking toward one rock; you are moving through a high mountain setting with steep drops, long views, and changing ground underfoot.
The guides add local nature and history along the way. One guide praised in the feedback, Anke, was especially noted for explaining plants, old mountain stories, and local lore. Marty was praised for conversation and for handling the group well, while Barbara was described as professional, cheerful, and entertaining. You cannot count on a particular guide being assigned, but these names give you a sense of the personal style available on this tour.
The group makes small stops for snacks and drinks. These are useful for more than rest. You can refill water at some points along the trail, though you should start with about 1.5 liters and carry enough food for the entire day.
Bring sandwiches, nuts, chocolate, and a banana or similar easy food. Since meals are not included, you should not expect a supplied lunch. I would rather carry a little too much food than reach Trolltunga with no energy left for the return.
Ringedalsvatnet gives the hike its color
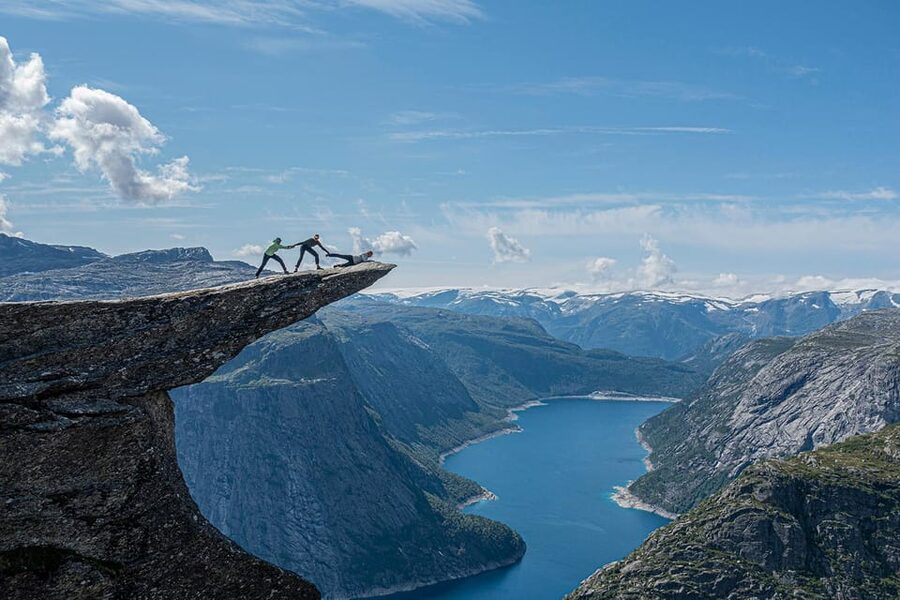
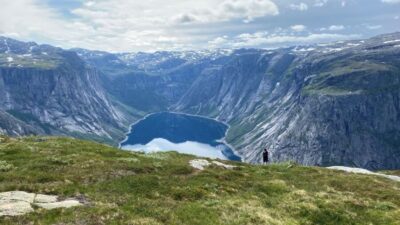
The main visual prize is Ringedalsvatnet, the long blue lake far below. From the higher viewpoints, you see how the water fits into the steep valley and why the final rock ledge has become one of Norway’s best-known photo spots.
The views do not wait until the end. Several points along the trail let you stop, look back, and see the valley from different angles. This makes the walk feel less like a single push to a destination. If clouds cover Trolltunga itself, the route can still offer strong views on the way.
Farther away, the Folgefonna Glacier may appear on the horizon. It is not the close-up feature of the day, but it adds another layer to the view. Bring sunglasses and sunscreen even on a cool day, since exposed mountain areas can feel bright and harsh.
More Hiking Tours in Hardangerfjord:
- Full Day Hiking Adventure from Bergen to Trolltunga
★ 5.0 · 7 reviews - Trolltunga Autumn Hike Go Viking
★ 5.0 · 4 reviews - From Tromsø: Snowshoeing Hike with Picnic Lunch and Photos
★ 4.8 · 637 reviews - From Tromsø: Guided Husky Snowshoe Hike and Husky Camp Visit
★ 4.9 · 555 reviews
Arriving at Trolltunga
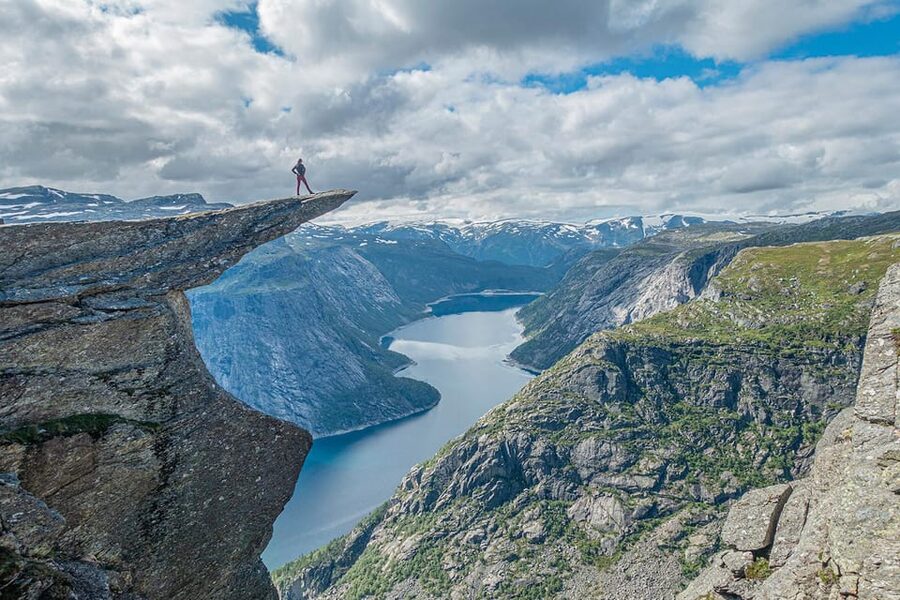
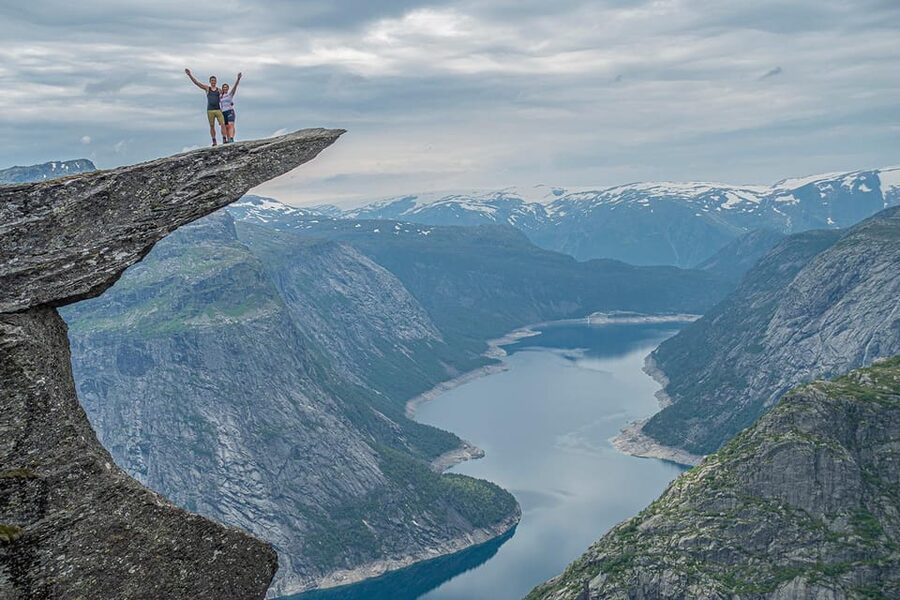
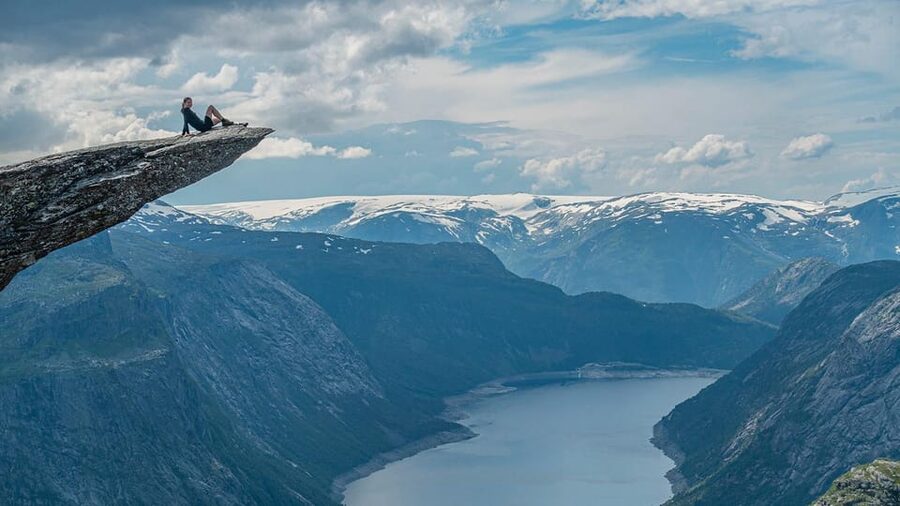
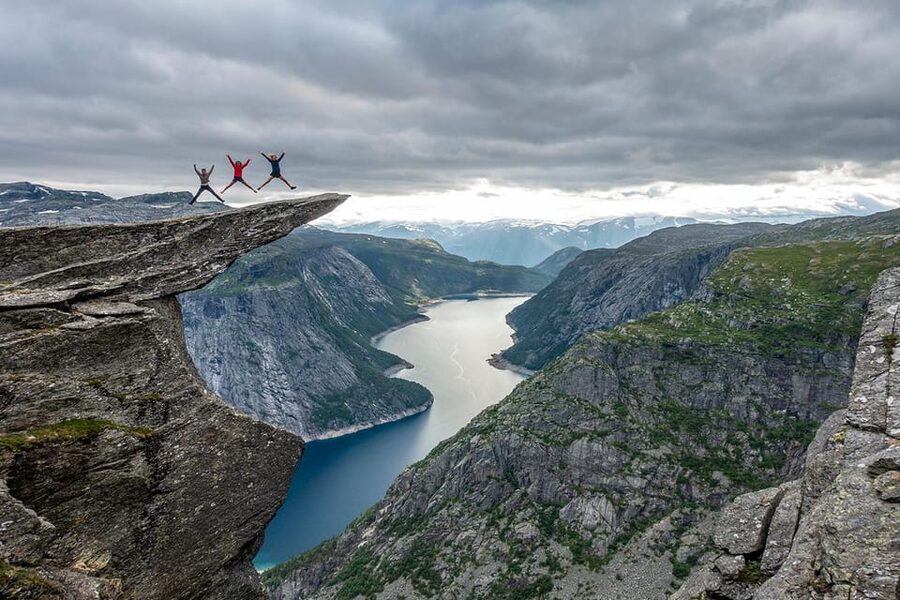
Trolltunga is the flat rock formation that projects out above the valley. The final approach brings you to the famous ledge, with Ringedalsvatnet and the steep drop below. This is the moment most people have come for, but you should expect to wait your turn for photos and follow the guide’s safety instructions.
The guide helps with pictures during the day, including the main photo at Trolltunga. That is a real advantage if you are hiking alone or with only one companion. You can focus on the setting instead of trying to balance a phone on a rock or asking a hurried stranger for a picture.
When weather and safety conditions permit rappelling, the guide may descend to create the special needle view of Trolltunga. This angle gives your photo a more unusual perspective than the standard image from the top. It is not guaranteed. Rain, wind, cold, or other conditions can prevent the rappel, so book this for the hike and scenery first, not for one exact photograph.
After the photos, you have some time around Trolltunga before starting back. That pause matters. The ledge is not a place to rush through, and the scale of the valley deserves a few quiet minutes beyond the camera moment.
The return is part of the challenge
The walk back is not an afterthought. After reaching Trolltunga, you still have the full return route to P3, followed by the shuttle to P2 if conditions allow. Tired legs, wet ground, changing temperatures, and fading light can make the second half feel harder than expected.
This is why the P2 to P3 shuttle is valuable. It removes some extra distance at both ends of the day. Even so, you need enough fitness to handle a long mountain outing. The activity is not suitable for people with a low fitness level, heart problems, or pregnancy.
I would not choose this guided hike if you want a relaxed sightseeing day. I would choose it if you want help with pacing, safety gear, local stories, and photography on a serious but well-supported route.
What to wear and carry for a Norwegian mountain day
The packing list is not optional decoration. Conditions can shift, and wet clothing can become dangerously cold. Avoid cotton, which stays cold when wet, and use a wool base layer if rain or low temperatures are expected.
Bring:
- Hiking shoes with good support
- Windproof and waterproof shell jacket
- Waterproof shell pants in poor weather
- Warm mid layer and wool base layer when needed
- Hat or cap, gloves, and spare socks
- Sunglasses and sunscreen
- Around 1.5 liters of water
- A backpack of about 35 liters
- Enough food for the whole day
- Camera and personal hiking gear
Snowshoes or microspikes may be required early or late in the season. The guide can provide them if needed, but you should still arrive ready for a cold and wet day. Comfortable shoes alone are not enough for this route.
Alcohol and drugs are not allowed. That is sensible on a long mountain trail with exposed viewpoints and changing conditions.
Is $183 good value?
At $183 per person, this is not the cheapest way to see Trolltunga. You are paying for a professional guide, the P2 to P3 transport, hiking poles, seasonal traction equipment when needed, safety and first-aid support, local nature and history, and help taking photos.
The value depends on what you need. If you are experienced with long mountain hikes, comfortable navigating unfamiliar terrain, and happy to handle your own photos, you may prefer a self-guided approach. If you are solo, nervous about the route, or want help judging weather and pace, the guide can make the cost worthwhile.
The strongest value is the combination of support and time savings. The shuttle shortens the route, while the guide handles group pacing and provides context you would otherwise miss. The photo help is also useful for solo hikers, though you should not assume the special rappelling shot will happen.
Food, drinks, personal hiking clothing, and your transport to P2 cost extra. Add those costs when planning your day.
Who should book this hike?
This suits reasonably fit adults who want a major outdoor day and who understand that the scenery comes with real effort. It is particularly useful for solo hikers and small groups who want company, route support, and someone to take photos.
The hike is less suitable if you dislike long walks, struggle with uphill terrain, or want a fixed timetable. It is also a poor match for anyone with heart problems, a low fitness level, or a pregnancy.
The guiding style can shape your day. Anke, Marty, and Barbara have each received strong praise for warmth, local stories, encouragement, and group care, though guide assignments can vary. One booking also reported that two guides had different levels of care and courtesy, so the experience may not feel identical every day.
My call: book it if you want support, not a shortcut
I would book this tour if Trolltunga is a major goal and you want the day organized around safety, pacing, stories, and photos. The P2 to P3 shuttle is a smart advantage, and the guide support is especially helpful on a route that can take most of a day.
I would skip it if you are looking for a simple viewpoint visit or do not have the fitness and clothing for a long mountain hike. Go prepared with food, water, layers, and patience. The best part is not only standing on the rock. It is seeing the valley unfold slowly, then having enough energy to make it back.
FAQ
Where does the Trolltunga hike meet?
The meeting point is Trolltunga Active Base or the shop beside the P2 parking area in Skjeggedal.
Is transport included?
Transport from P2 to P3 and back is included when weather conditions allow it. Transport to P2, including hotel pickup, is not included.
How long does the experience take?
The activity is listed as 10 hours. The hike itself can take about 7 to 9 hours, while other guidance allows 9 to 12 hours depending on conditions and pace.
What languages does the guide speak?
Guides provide the tour in English or Norwegian.
Are meals and drinks included?
No. You need to bring your own food and drinks, including enough snacks for the full day.
How much water should I bring?
The guidance recommends about 1.5 liters of water. Water can be refilled at some points along the trail.
Do I need hiking shoes?
Yes. Hiking shoes are specifically recommended, along with warm clothing and waterproof rain gear.
Are snowshoes or microspikes available?
Microspikes or snowshoes are provided if needed, especially early or late in the season. Conditions determine which equipment is appropriate.
Can I get the special needle-view photo?
The guide may create the special needle-view image by rappelling when weather and safety conditions allow it. The photo is not guaranteed in poor conditions.
Can I cancel or pay later?
You can cancel up to 24 hours before the activity for a full refund. The booking option also allows you to reserve now and pay later.
Just added around Hardangerfjord
- Ulvik adventure: Exploring Hardangerfjord’s Osafjord by RIB★ 4.8 · 5 reviews
- Ulvik: Hardangerfjord Ultimate RIB Tour★ 4.7 · 39 reviews
- Trolltunga Autumn Hike Go Viking★ 5.0 · 4 reviews
- Fyksesund majestic RIB Adventure from Øystese★ 5.0 · 19 reviews
- Scenic RIB adventure to Hardangerfjord & Fyksesund from Øystese★ 5.0 · 23 reviews
- Hardangerfjord Ultimate RIB adventure from Ulvik★ 5.0 · 27 reviews
- PRIVATE GUIDED TOUR: Folgefonna Glacier roundtrip from Bergen, 8 hours★ 5.0 · 5 reviews
- PRIVATE GUIDED TOUR: Folgefonna Glacier & Bondhus Valley from Bergen, 10 hours★ 5.0 · 3 reviews
Trolltunga Hikes, compared.
Helicopter Over Trolltunga and Waterfall Sightseeing from Bergen
Read our review →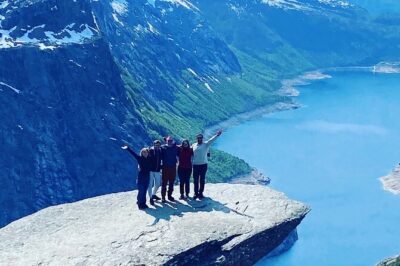
Full Day Hiking Adventure from Bergen to Trolltunga
Read our review →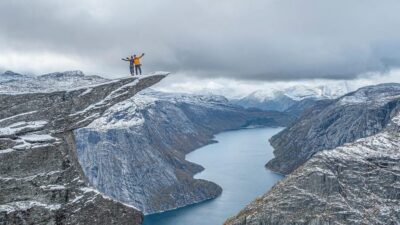
Trolltunga Helicopter & Waterfalss Sightseeing From Bergen
Read our review →Browse the lists this tour appears in